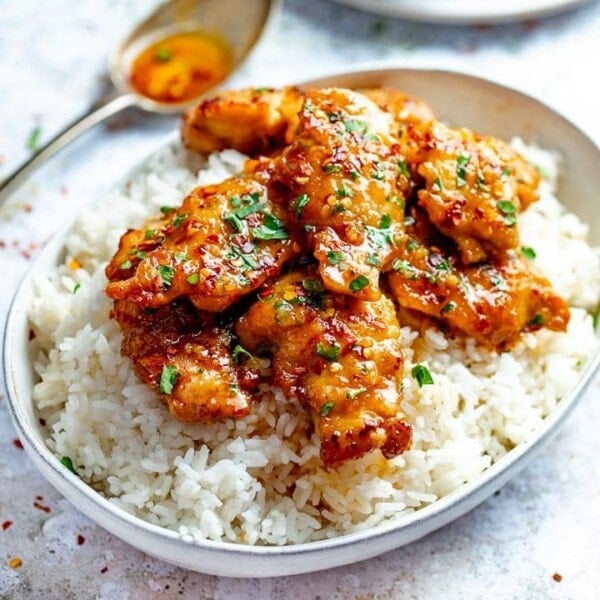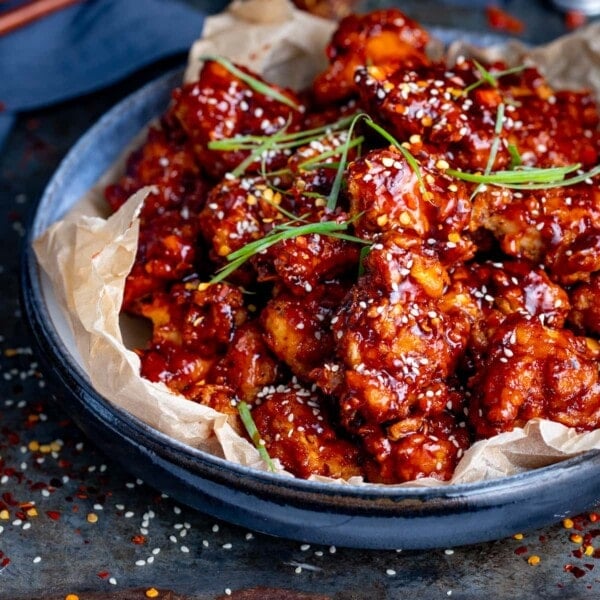
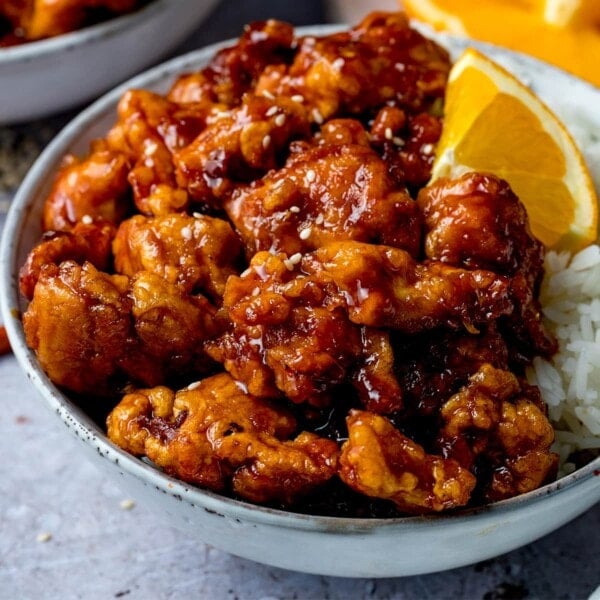
Crispy chicken thigh pieces baked in the oven with a sticky honey, soy, and garlic sauce. So simple and quick to prepare! Serve these crispy chicken bites up with rice, noodles or in lettuce cups and drizzle with that gorgeous honey garlic sauce!

Honey Garlic Chicken is one of my all-time favourite fakeaway recipes. So, I wanted to find a way to recreate those sticky, sweet tender pieces of chicken without the need for frying.
Obviously, nothing quite compares to chicken fried in oil, but this oven-baked method makes this dish much easier (and less messy) to cook. And having fewer dishes to wash afterwards is always a bonus!
📋 Ingredients
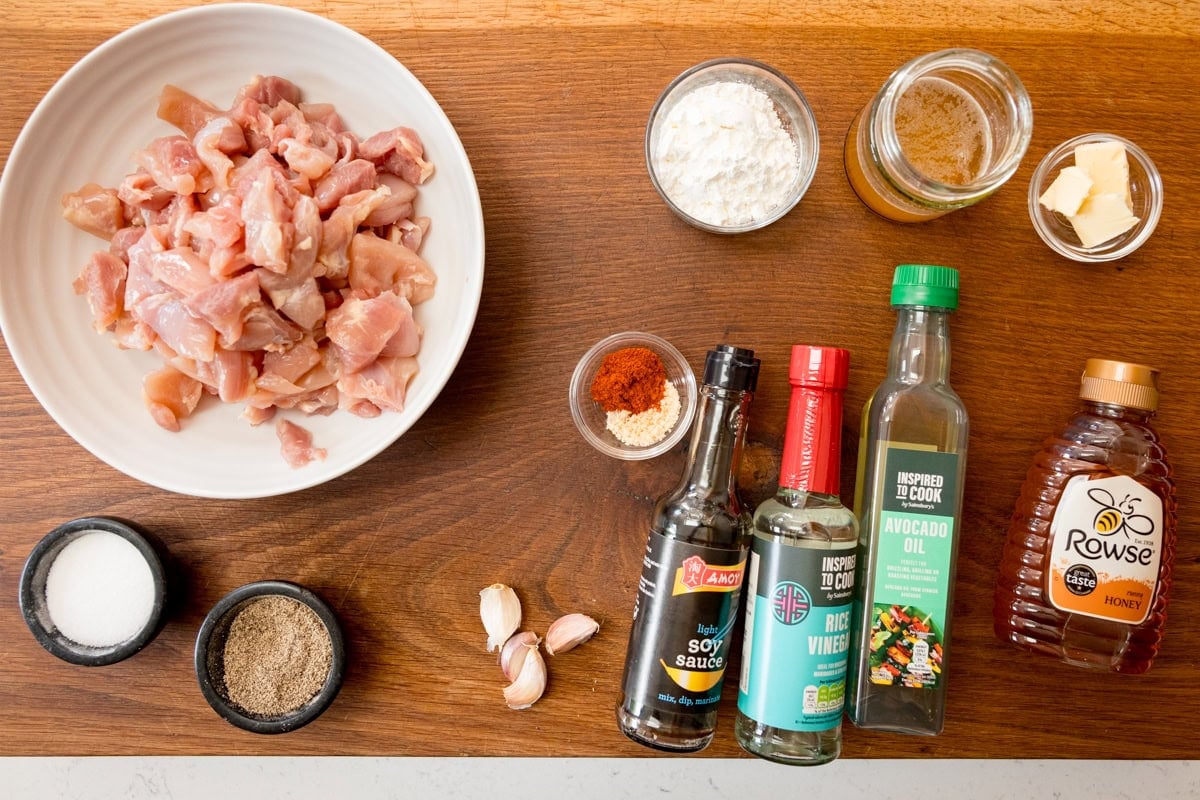
Chicken – Chicken thighs are preferable to chicken breast for this recipe, as we’re cooking at a high heat. Thigh meat stands up better to this high-heat cooking without drying out, plus thighs are brilliant at absorbing all the flavour of the sauce.
Rice Vinegar – This can be substituted for apple cider vinegar or white wine vinegar if you can’t get your hands on it.
📺 Watch how to make it
***Full recipe with detailed steps in the recipe card at the end of this post***
- To start off, we want to prep the chicken thighs by trimming off any extra fat and chopping them into bitesize chunks.
- Dredge in the seasoned cornflour, then once fully coated, we toss in the oil (this helps to give us a crispy golden coating).
- Spread out onto one large to two medium baking trays, giving the chicken enough space around it so the hot air in the oven will let it get crispy. Then place in the oven for 15 minutes, until crispy. The chicken should be almost cooked after 15 minutes.
- Meanwhile, make the sauce.
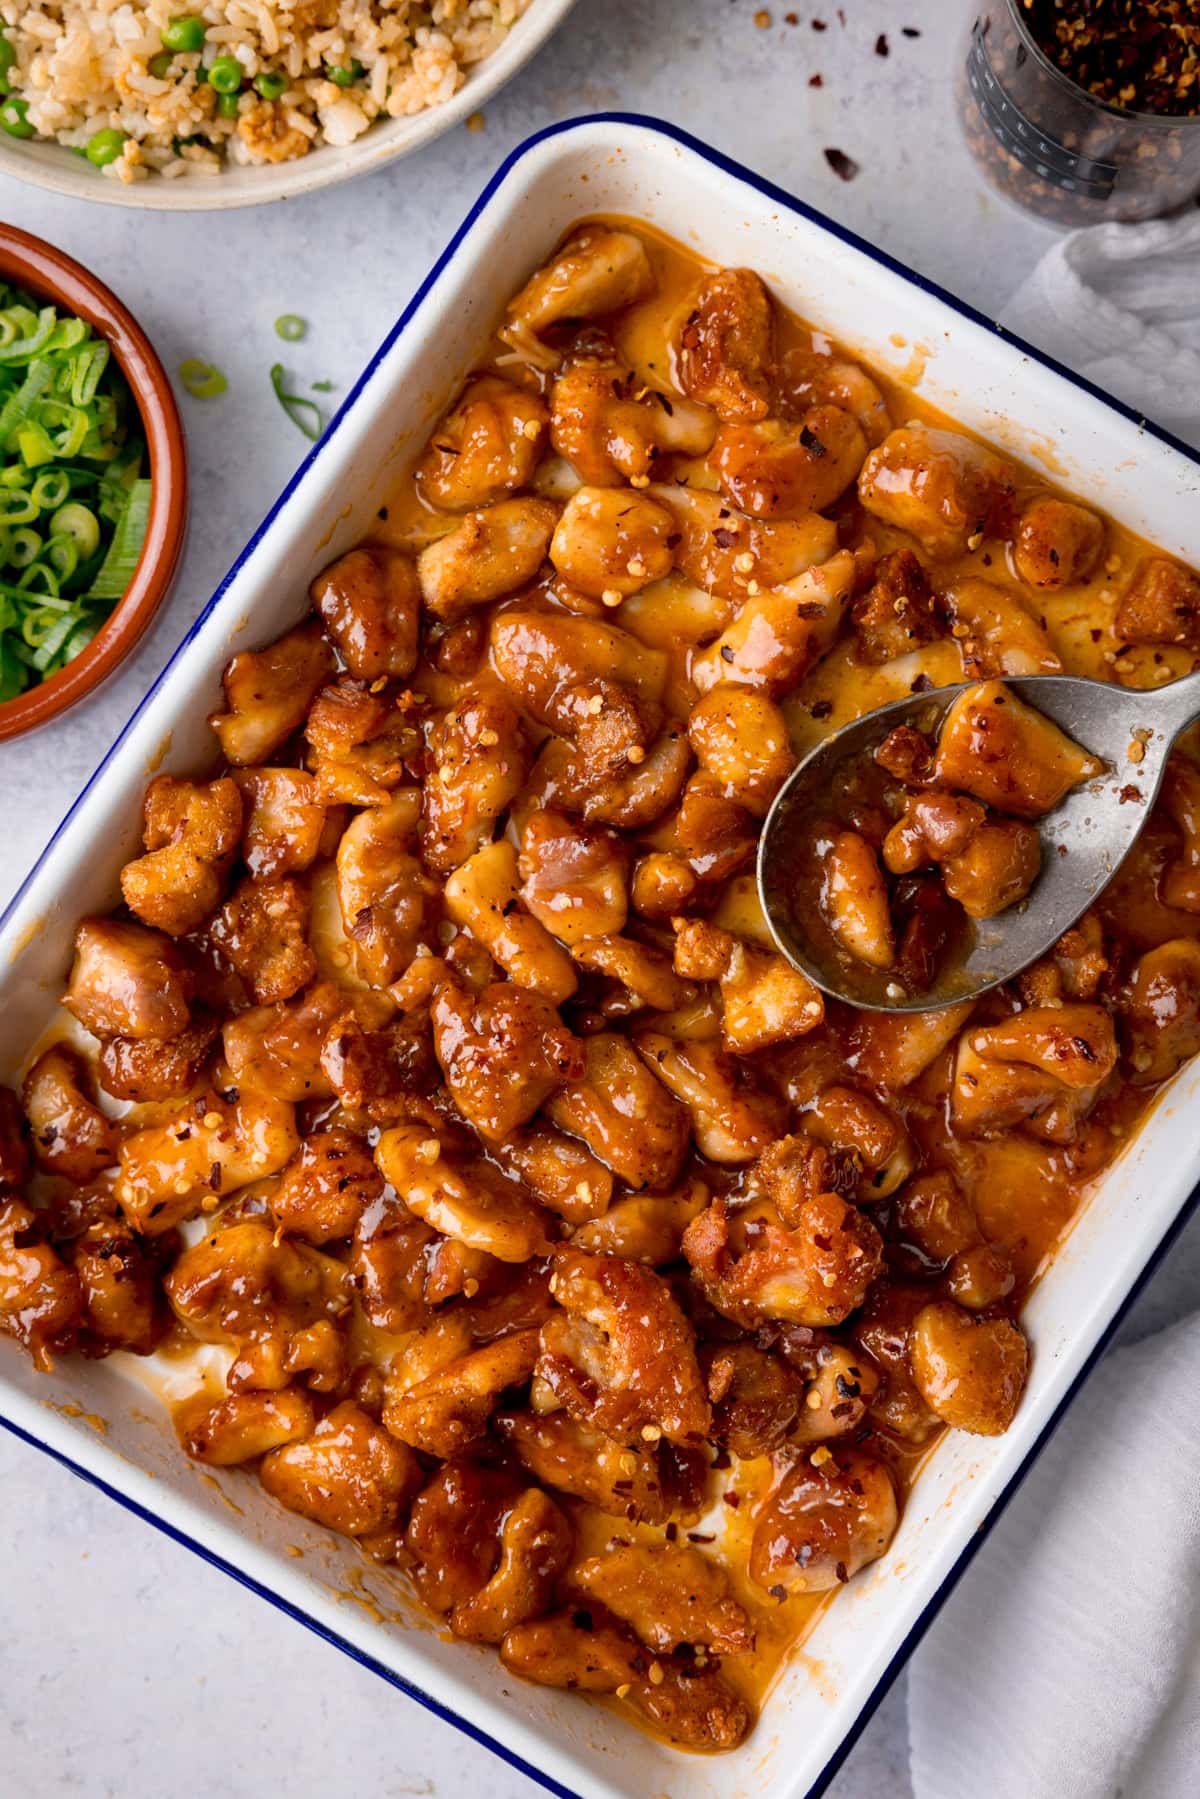
- Once the chicken is crispy, take it out of the oven and pour the sauce around the chicken so it pools at the bottom of the tray. I try to ensure the sauce is going mostly on the tray, not the chicken (to retain that crispiness). Then, pop back in the oven until the sauce is bubbling and the chicken is cooked through.
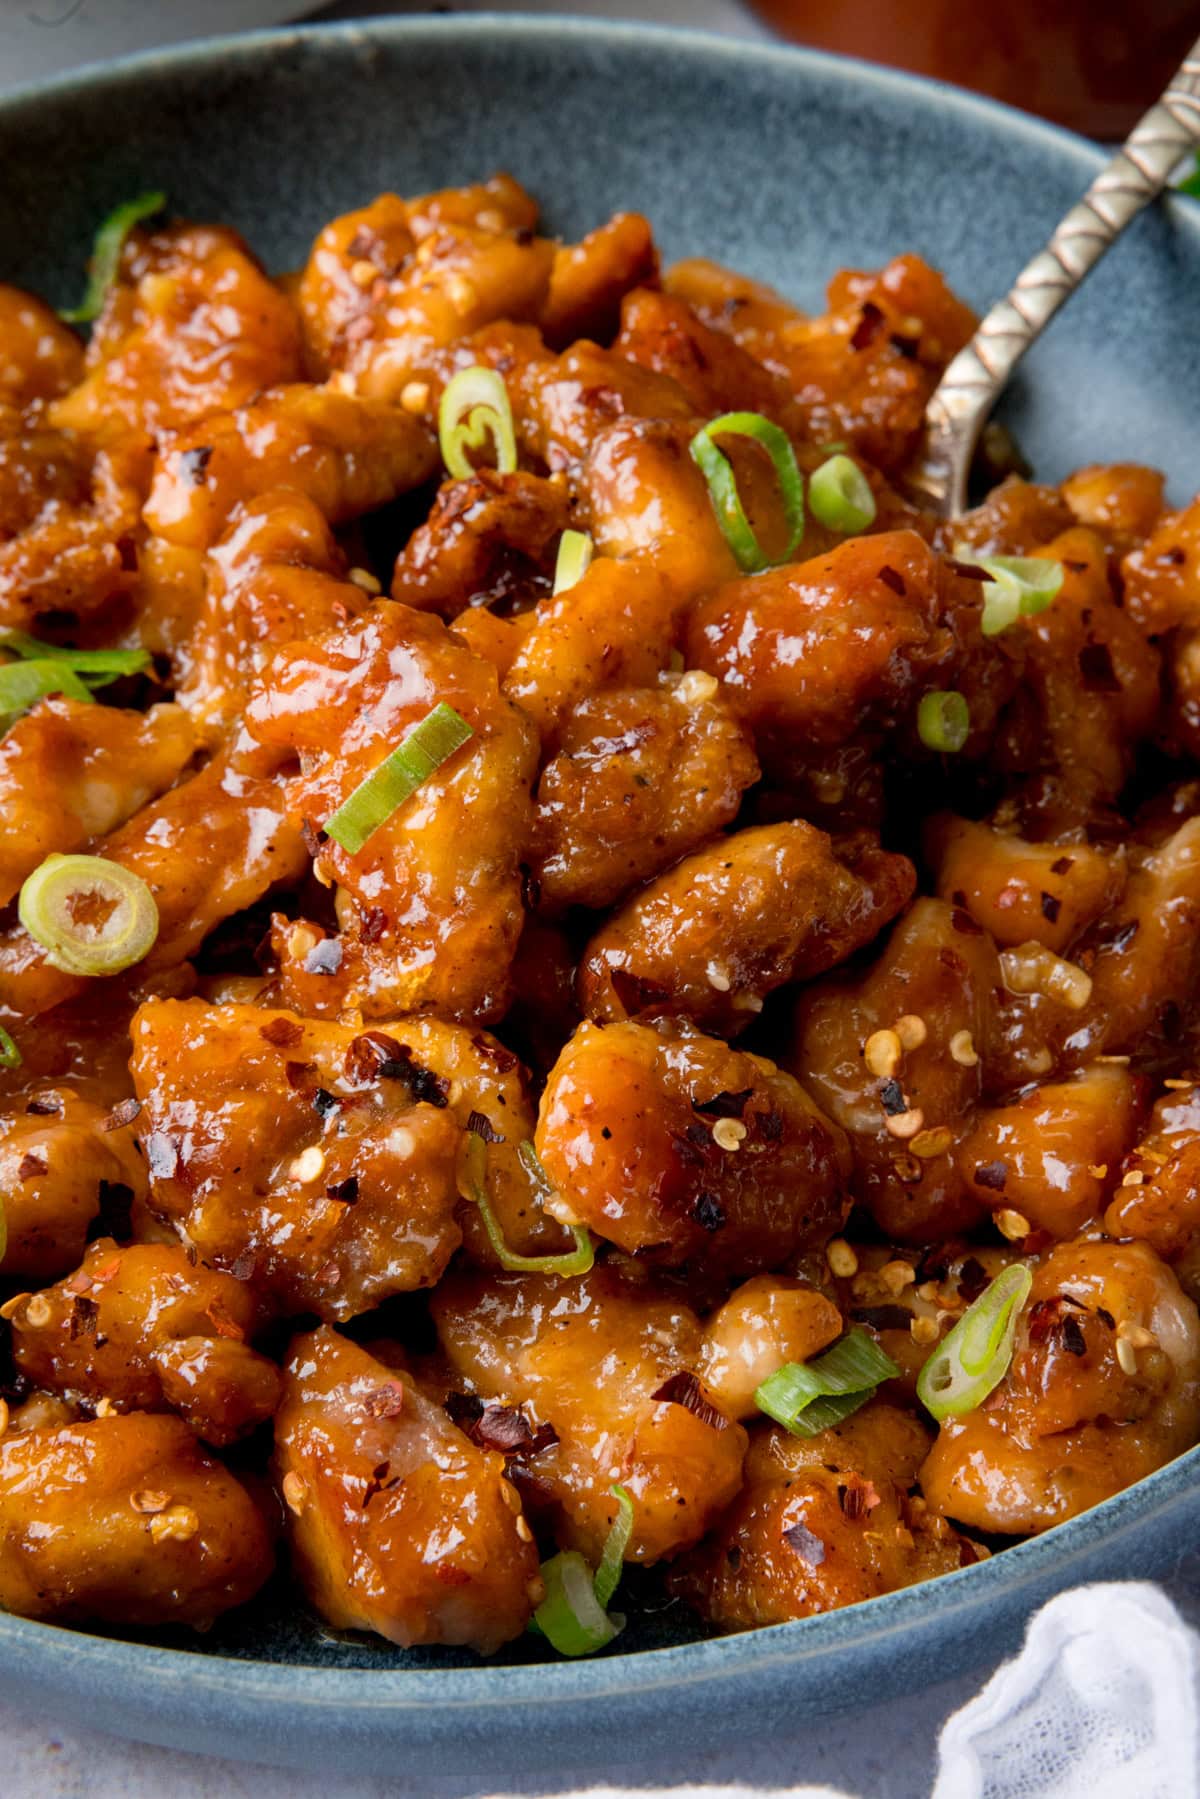
- Give it all a good mix, so the sauce coats the chicken and serve. I like to serve with rice and top with chopped spring onions and dried chilli flakes.
Pro Tip
Serve the chicken with rice, noodles or in a lettuce cup and drizzle over the remaining sauce from the tray for a super quick and easy dinner!
This is a fantastic addition to a fakeaway banquet!
Pin this now to find it later
Pin It🍽️ What to serve it with
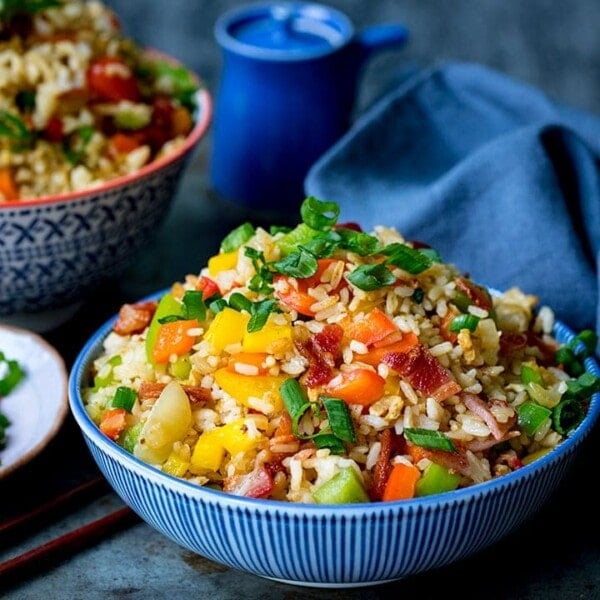
- Serve over Boiled Rice or Egg Fried Rice.
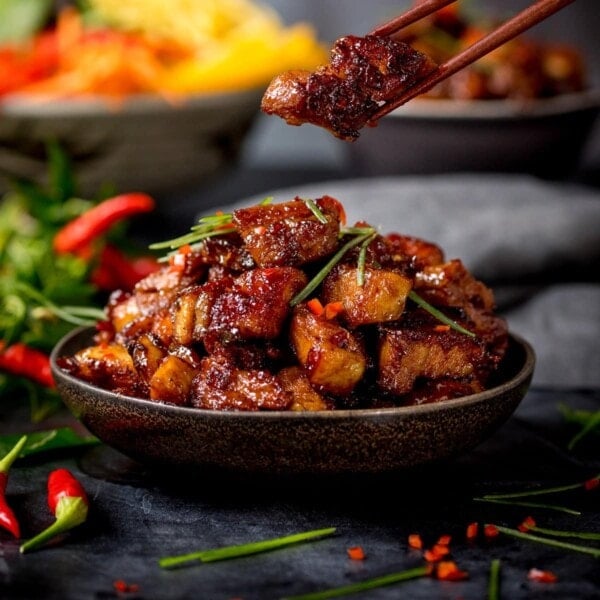
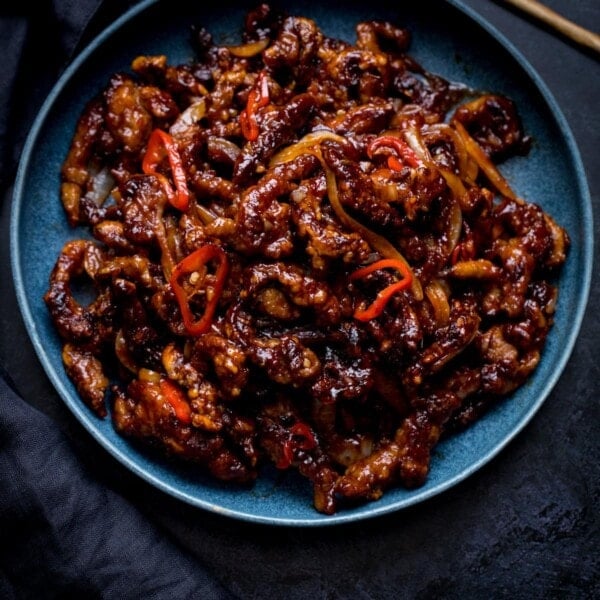
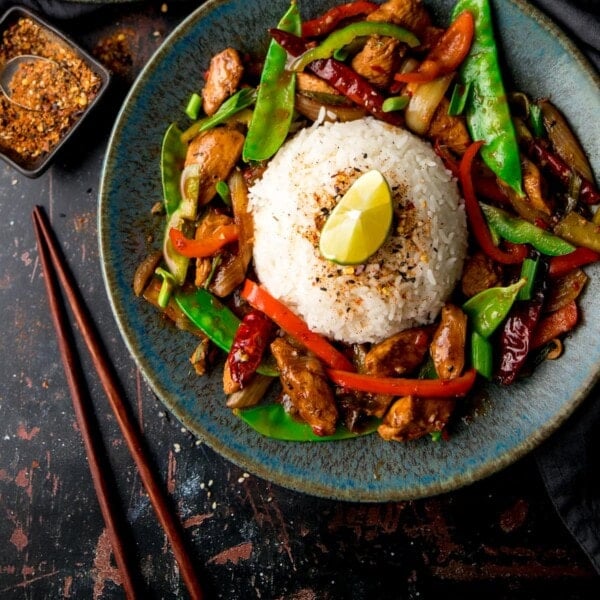
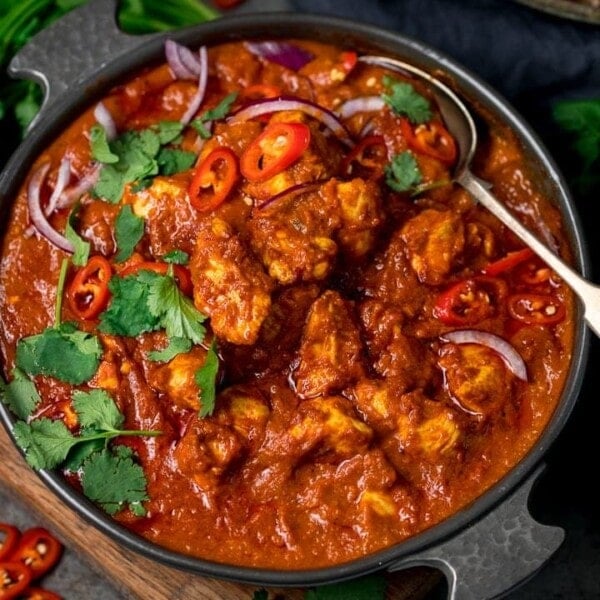
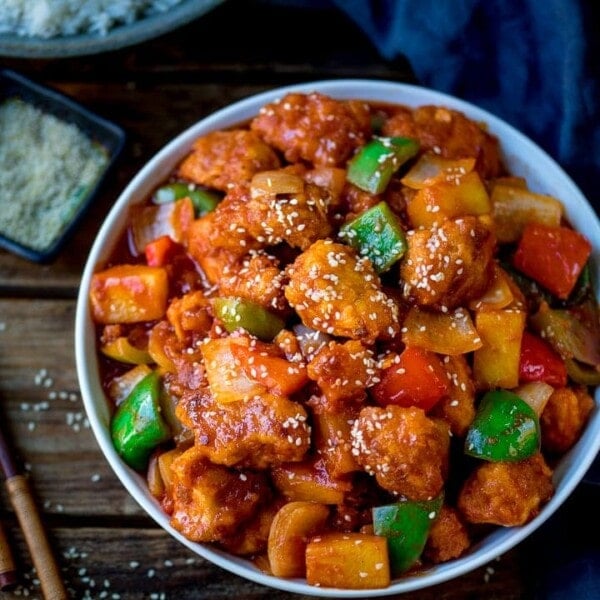
- Serve it as a part of a fakeaway banquet alongside Sweet and Sour Pork, and Crispy Chilli Beef.
- Use Chris’s Homemade Sesame Prawn Toast to mop up the rest of that irresistible sauce!
That crispy, golden chicken coated in that sweet and savoury sauce is SO tasty!
🍲 More fantastic fakeaway recipes


Stay updated with new recipes!
Subscribe to the newsletter to hear when I post a new recipe. I’m also on YouTube (new videos every week) and Instagram (behind-the-scenes stories & beautiful food photos).

📋 Baked Honey Garlic Chicken Recipe
Ingredients
Crispy Chicken:
- 8 skinless chicken thigh fillets (this is about 800g or 3/4 pound before trimming)
- 3 tbsp cornflour (cornstarch in USA)
- ¼ tsp salt
- ¼ tsp pepper
- ½ tsp garlic powder
- ½ tsp paprika
- 2 tbsp oil
Honey Garlic Sauce:
- 1 tbsp rice vinegar (sub with apple cider vinegar or white white vinegar if needed)
- 1 tbsp light soy sauce
- 1 tsp cornflour (cornstarch in USA)
- 80 ml (1/3 cup) chicken stock
- 1 tbsp unsalted butter
- 4 cloves of garlic peeled and minced
- 110 g (1/3 cup) honey
To Serve:
- boiled rice
- or egg fried rice
- chopped spring onions (scallions)
- chilli flakes
Instructions
- Preheat the oven to 190C/375F (fan).
- Take your chicken thigh fillets, trim off the excess fat, and cut into bite-sized chunks. Put to one side.8 skinless chicken thigh fillets
- In a medium-sized bowl, mix the cornflour, salt, pepper, garlic salt, and paprika.3 tbsp cornflour, 1/4 tsp salt, 1/4 tsp pepper, 1/2 tsp garlic powder, 1/2 tsp paprika
- Place the chicken in the bowl with the cornflour, and mix, ensuring every piece of chicken is completely covered.
- Drizzle the oil over the chicken in the bowl and mix it all up. You should end up with the chicken pieces looking well-coated and quite sticky.2 tbsp oil
- Place the chicken into one large or two medium baking dishes or trays with sides (the sides need to be at least 2.5cm/1" high) in a single layer. Try not to crowd the chicken together. The more room it has, the more crispy it will get.
- Place the tray(s) with the chicken near the top of the oven and cook for 15 minutes.
- Meanwhile make your sauce. Add the rice vinegar, soy sauce and cornflour (cornstarch) to a jug or bowl and mix together to combine. Then stir in the stock, butter, garlic and honey. Put to one side (the butter should melt a little in the liquid due to the warm stock, but don't worry if it doesn't melt much).1 tbsp rice vinegar, 1 tbsp light soy sauce, 1 tsp cornflour, 1 tbsp unsalted butter, 4 cloves of garlic, 110 g (1/3 cup) honey, 80 ml (1/3 cup) chicken stock
- After the chicken has been in the oven for 15 minutes, remove from the oven and give the chicken a turn. If you were using two trays, transfer all the chicken onto one tray, as it should be crispy by this point.
- Pour the sauce into the tray around the chicken (don't pour it directly over the chicken, as it can lose some of its crispness). Place the tray back in the oven and cook for a further 10-12 minutes – until the sauce is bubbling.
- Remove the tray from the oven and stir the chicken and sauce, so that the sauce coats the chicken.
- Serve with rice and a sprinkling of spring onions and chilli flakes.boiled rice, chopped spring onions (scallions), chilli flakes, or egg fried rice
Video
Notes
Airfryer
You can cook the chicken in the air fryer (190C/375F) for about 15-18 minutes – until the chicken is fully cooked and no longer pink in the middle. Check on the chicken and give it a shake at least 3 times during cooking, to ensure the chicken doesn’t stick together. Heat the sauce carefully in the microwave for 2-3 minutes, or in a saucepan, stirring once or twice during heating, then pour the sauce over the cooked chicken.Can I make it ahead?
I don’t recommend making the chicken ahead to reheat, as the chicken can get soggy. However, you can make the sauce ahead of time. Just mix all the sauce ingredients together, cover and refrigerate for up to a day. Then use when you’re ready (it’s great over shop-bought breaded chicken steaks too). Nutritional Information is per serving (this recipe serves 4), without the serving suggestions of rice.Nutrition
Nutrition information is automatically calculated, so should only be used as an approximation.
Some of the links in this post may be affiliate links – which means if you buy the product I get a small commission (at no extra cost to you). If you do buy, then thank you! That’s what helps us to keep Kitchen Sanctuary running. The nutritional information provided is approximate and can vary depending on several factors. For more information please see our Terms & Conditions.